Are you looking for a delicious low-carb alternative to traditional pizza crust? This canned chicken pizza crust recipe is the perfect solution. With a few simple ingredients and minimal effort, you can create a crispy, flavorful base for all your favorite toppings. It’s an ideal option for those on a keto diet or anyone seeking a healthier alternative without sacrificing taste. Plus, it’s easy to make with pantry staples, saving you a trip to the store.
Why Choose a Canned Chicken Pizza Crust?
Making pizza crust with canned chicken may seem unusual, but the results are surprisingly good. This crust is sturdy enough to hold all your toppings, meaning you can skip the fork and knife. It’s also low in carbs, high in protein, and incredibly easy to prepare—no need for yeast or proofing. This crust comes together quickly and delivers great flavor for busy weeknights or last-minute meals.
Since the ingredients are mostly pantry staples, it's a perfect go-to when you want to whip up a pizza without heading out for more ingredients. The canned chicken pizza crust is versatile, allowing you to customize the toppings based on what you have available, whether it's meats, vegetables, or different types of cheese.

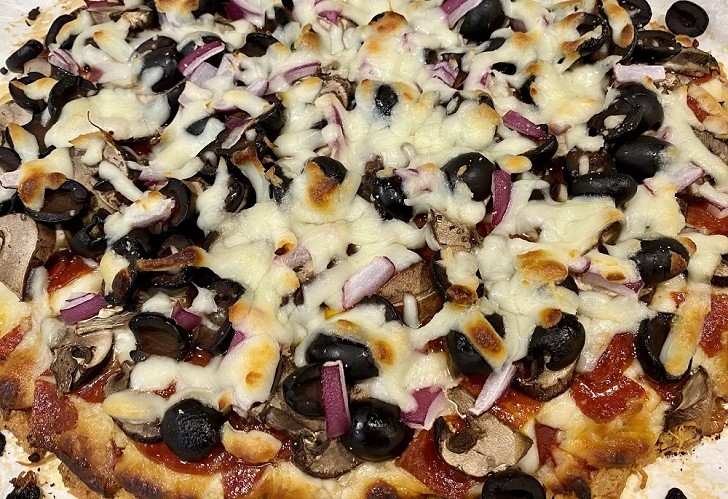
Hangry Fork | The canned chicken pizza crust allows you to customize the toppings based on what you have available.
Ingredients for Canned Chicken Pizza Crust
This recipe requires just a few ingredients:
- 2 cans of drained canned chicken
- 1 egg
- ½ cup of grated parmesan cheese
- 1 dash of garlic powder
- 2 dashes of salt and pepper
To make your pizza, you’ll also need:
- Pizza sauce
- Mozzarella cheese (or any cheese on hand)
- Your choice of toppings, such as cooked meats (pepperoni, sausage) and vegetables (mushrooms, onions)
Canned Chicken Pizza Crust Recipe: 6 Simple Steps to Follow
1. Preheat the Oven
Preheat your oven to 375°F. While the oven is heating, prepare a baking sheet by lining it with parchment paper. This helps prevent the crust from sticking and makes it easier to remove once baked. Proper preparation will also result in a more even crust.
2. Mix the Ingredients
Combine the drained canned chicken, egg, parmesan cheese, garlic powder, salt, and pepper in a medium-sized bowl. Use a spatula or your hands to mix the ingredients thoroughly until they form a consistent, sticky mixture. This mixture will be the base for your crust.
3. Form the Crust
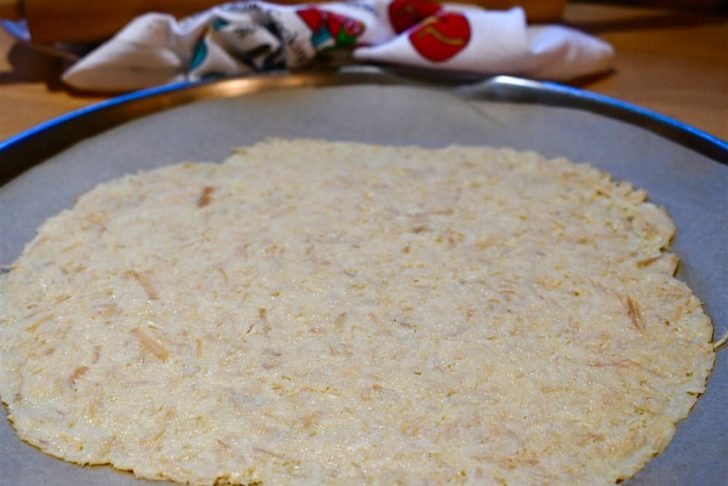
Once the ingredients are well-mixed, spread the mixture evenly onto the parchment-lined baking sheet. Aim for a thin, even layer without holes. The thickness of the crust will affect its texture, so try to maintain a uniform thickness to ensure even cooking.

@cheftini | Instagram | Once the ingredients are well-mixed, spread the mixture evenly onto the parchment-lined baking sheet.
4. Bake the Crust
Place the crust in the preheated oven and bake for about 30 minutes. It should turn golden brown and become firm. While the crust is baking, prepare your pizza toppings. Be sure all meats are fully cooked, and vegetables are chopped into bite-sized pieces so they are ready to go once the crust is done.
5. Add the Pizza Sauce
After the crust has baked, remove it from the oven and allow it to cool slightly. Spread a layer of pizza sauce evenly over the crust. Return the pizza to the oven for an additional 5-8 minutes. This extra step allows the sauce to set and adds a deeper flavor to the base.
6. Assemble the Pizza
Once the sauce has set, begin assembling your pizza. Start with a layer of cheese, then add your favorite toppings, such as meats, vegetables, or more cheese. Return the pizza to the oven and bake for another 15 minutes or until the cheese is melted and slightly browned. Let the pizza cool for 10 minutes before slicing to ensure the toppings stay in place.


